Toggle Nav

 Acoustic Wall Panels
 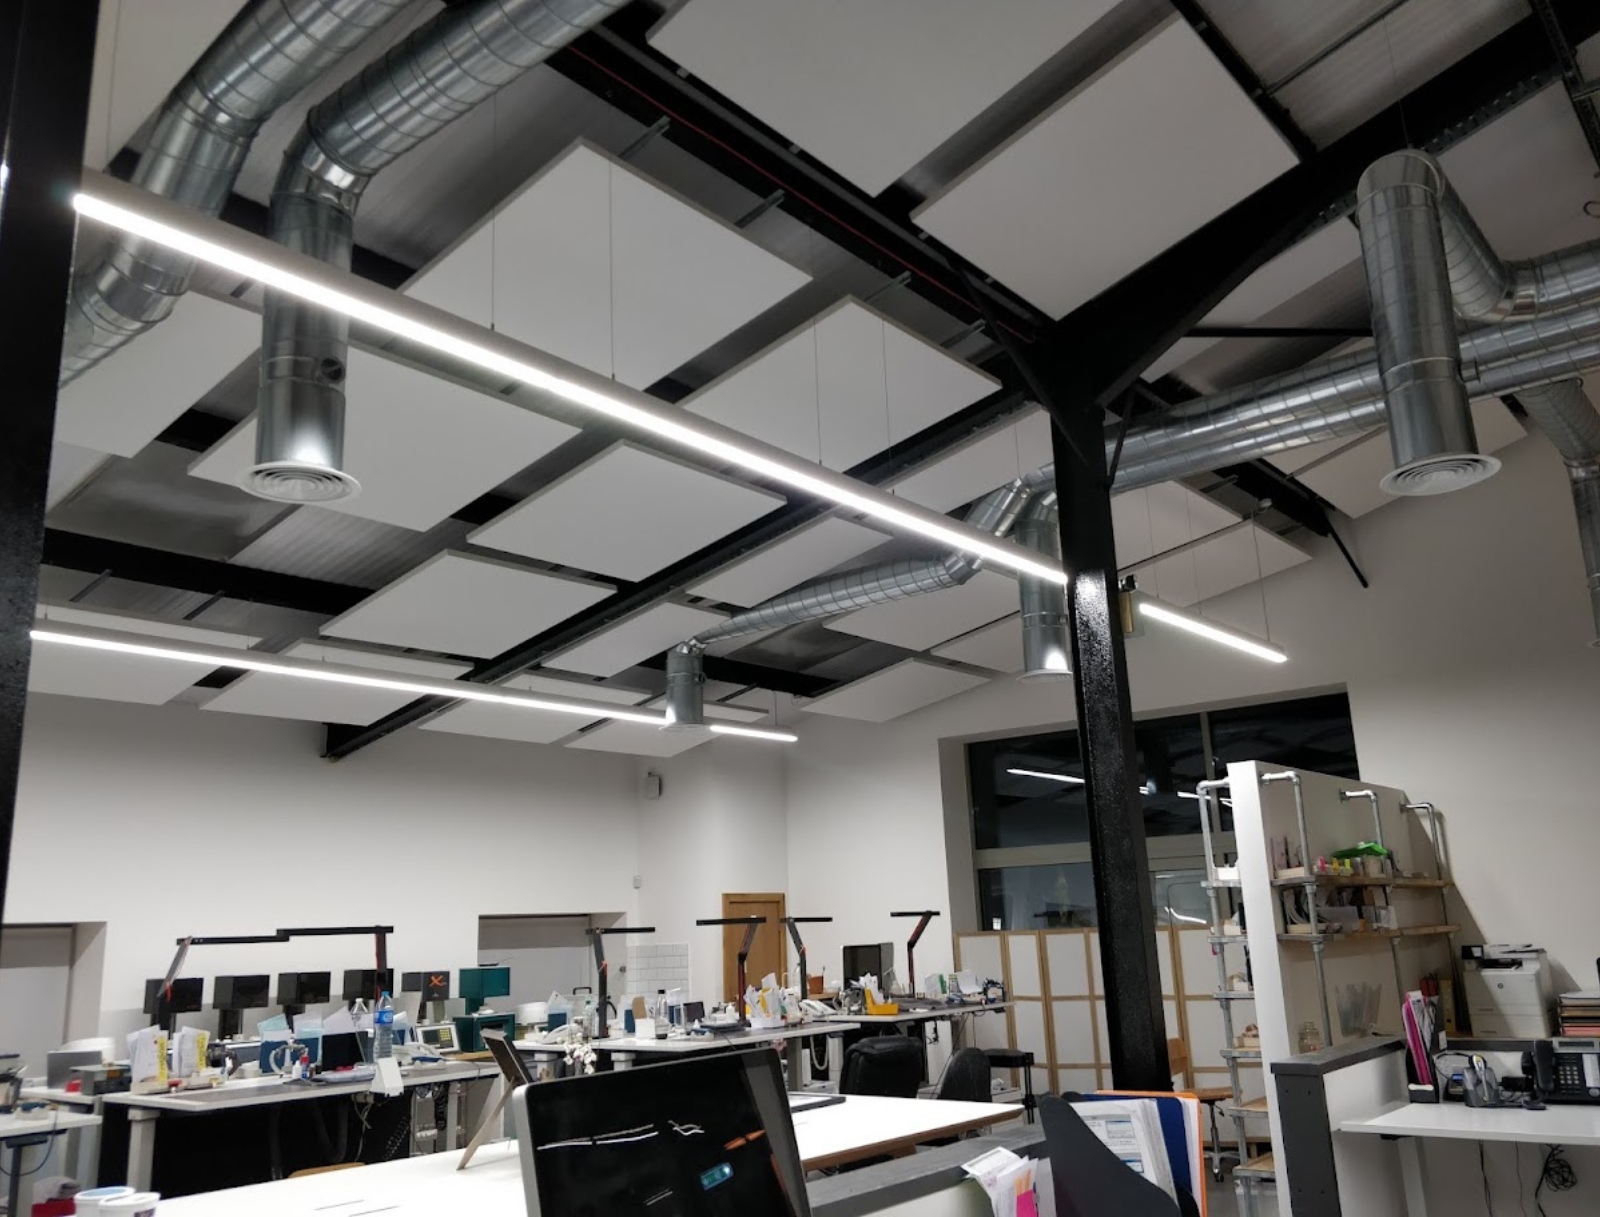 Acoustic Ceiling Panels
 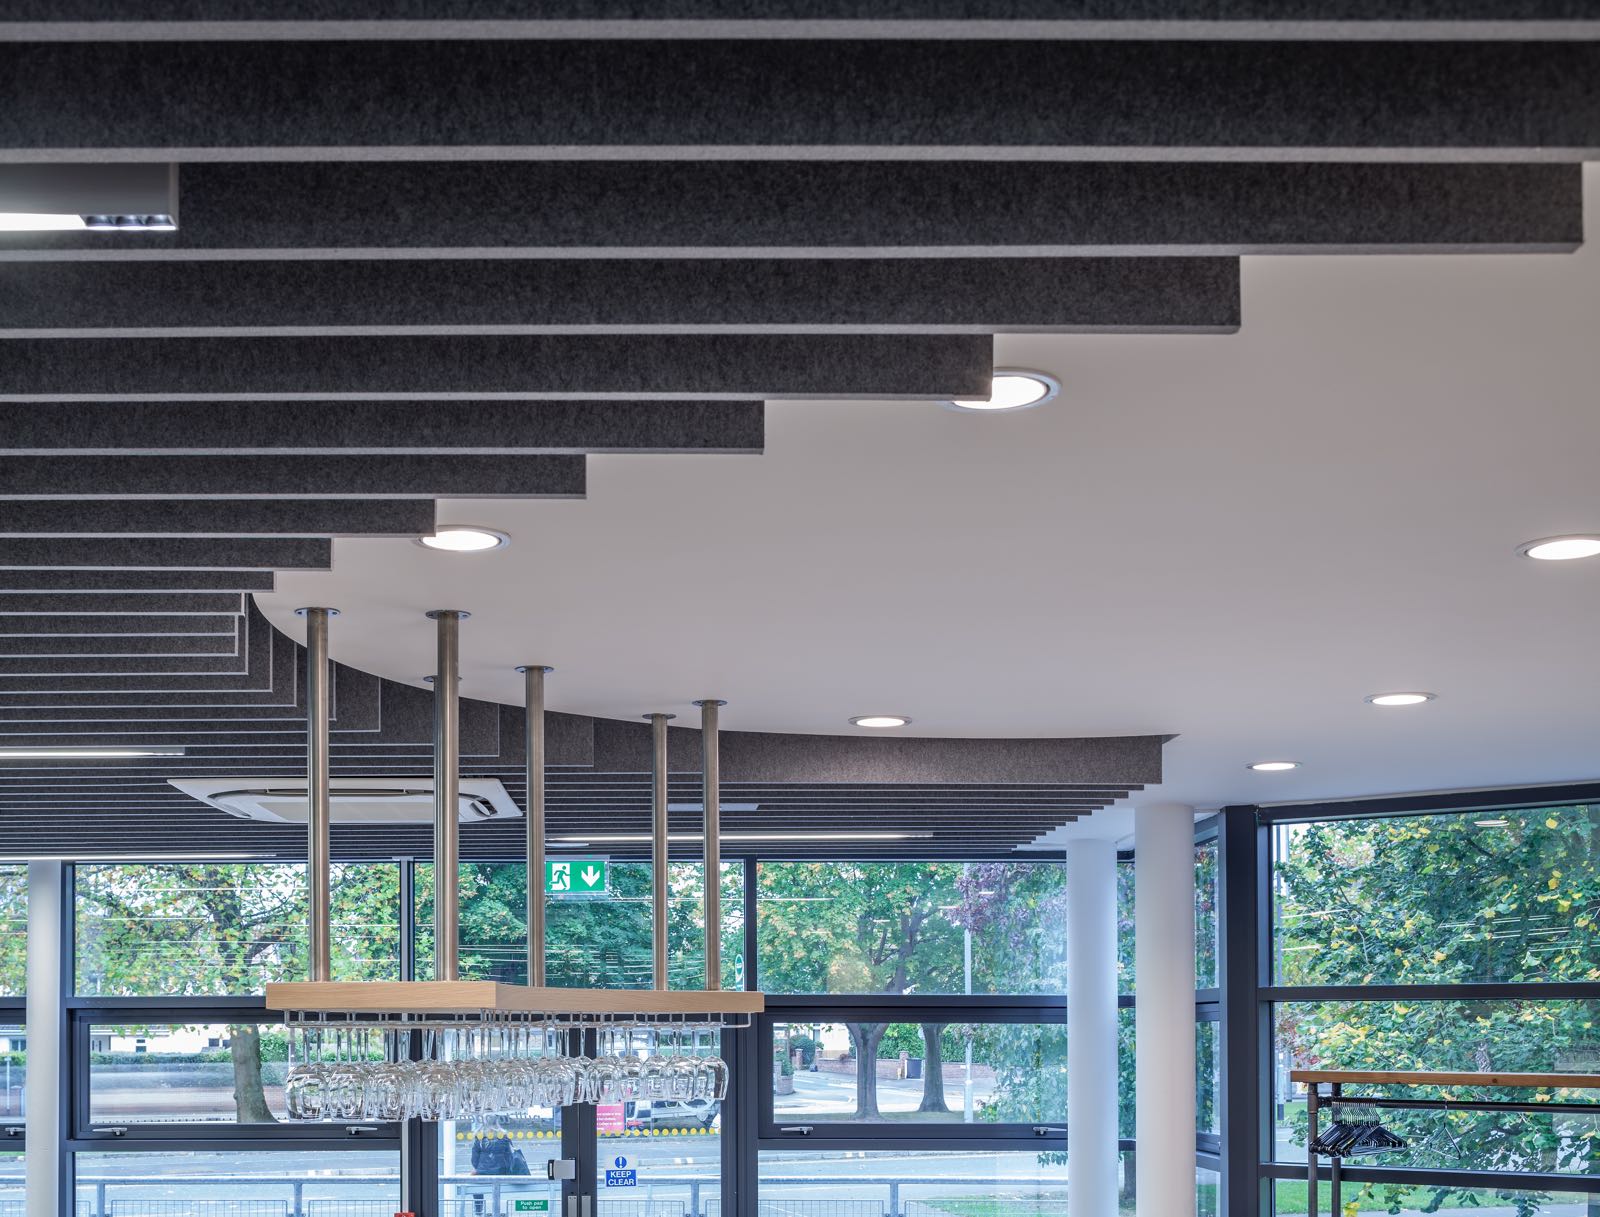 Acoustic Ceiling Baffles
  Acoustic Screens
 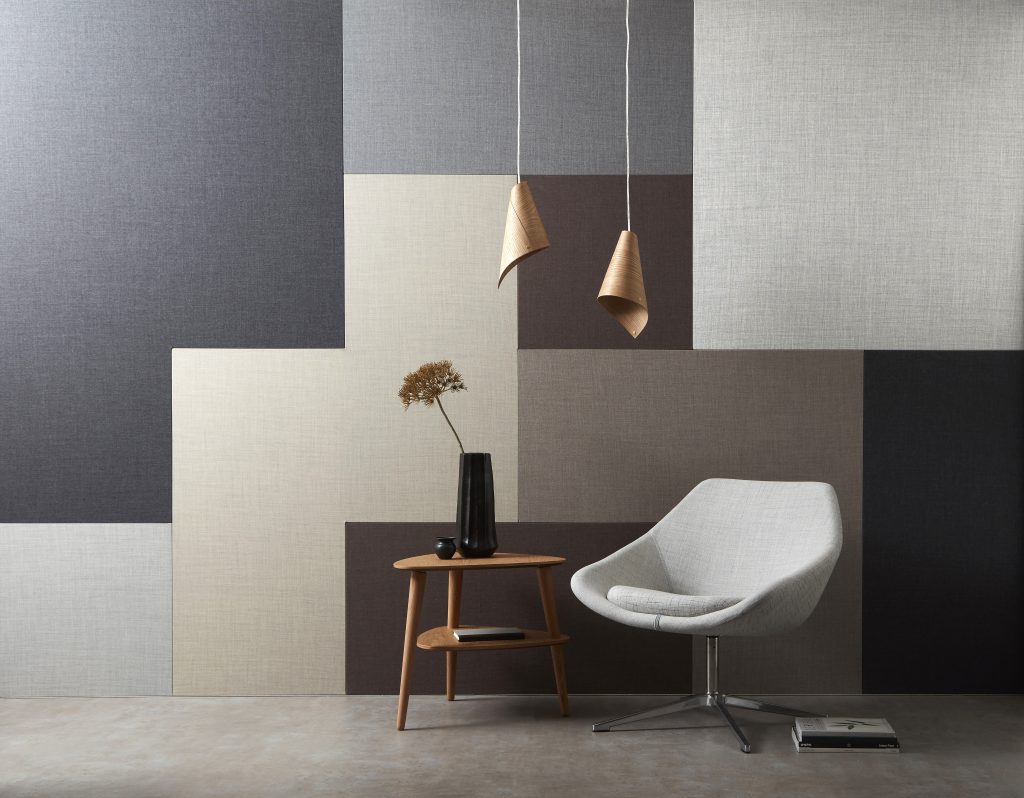 Acoustic Fabric
  Acoustic Lighting
 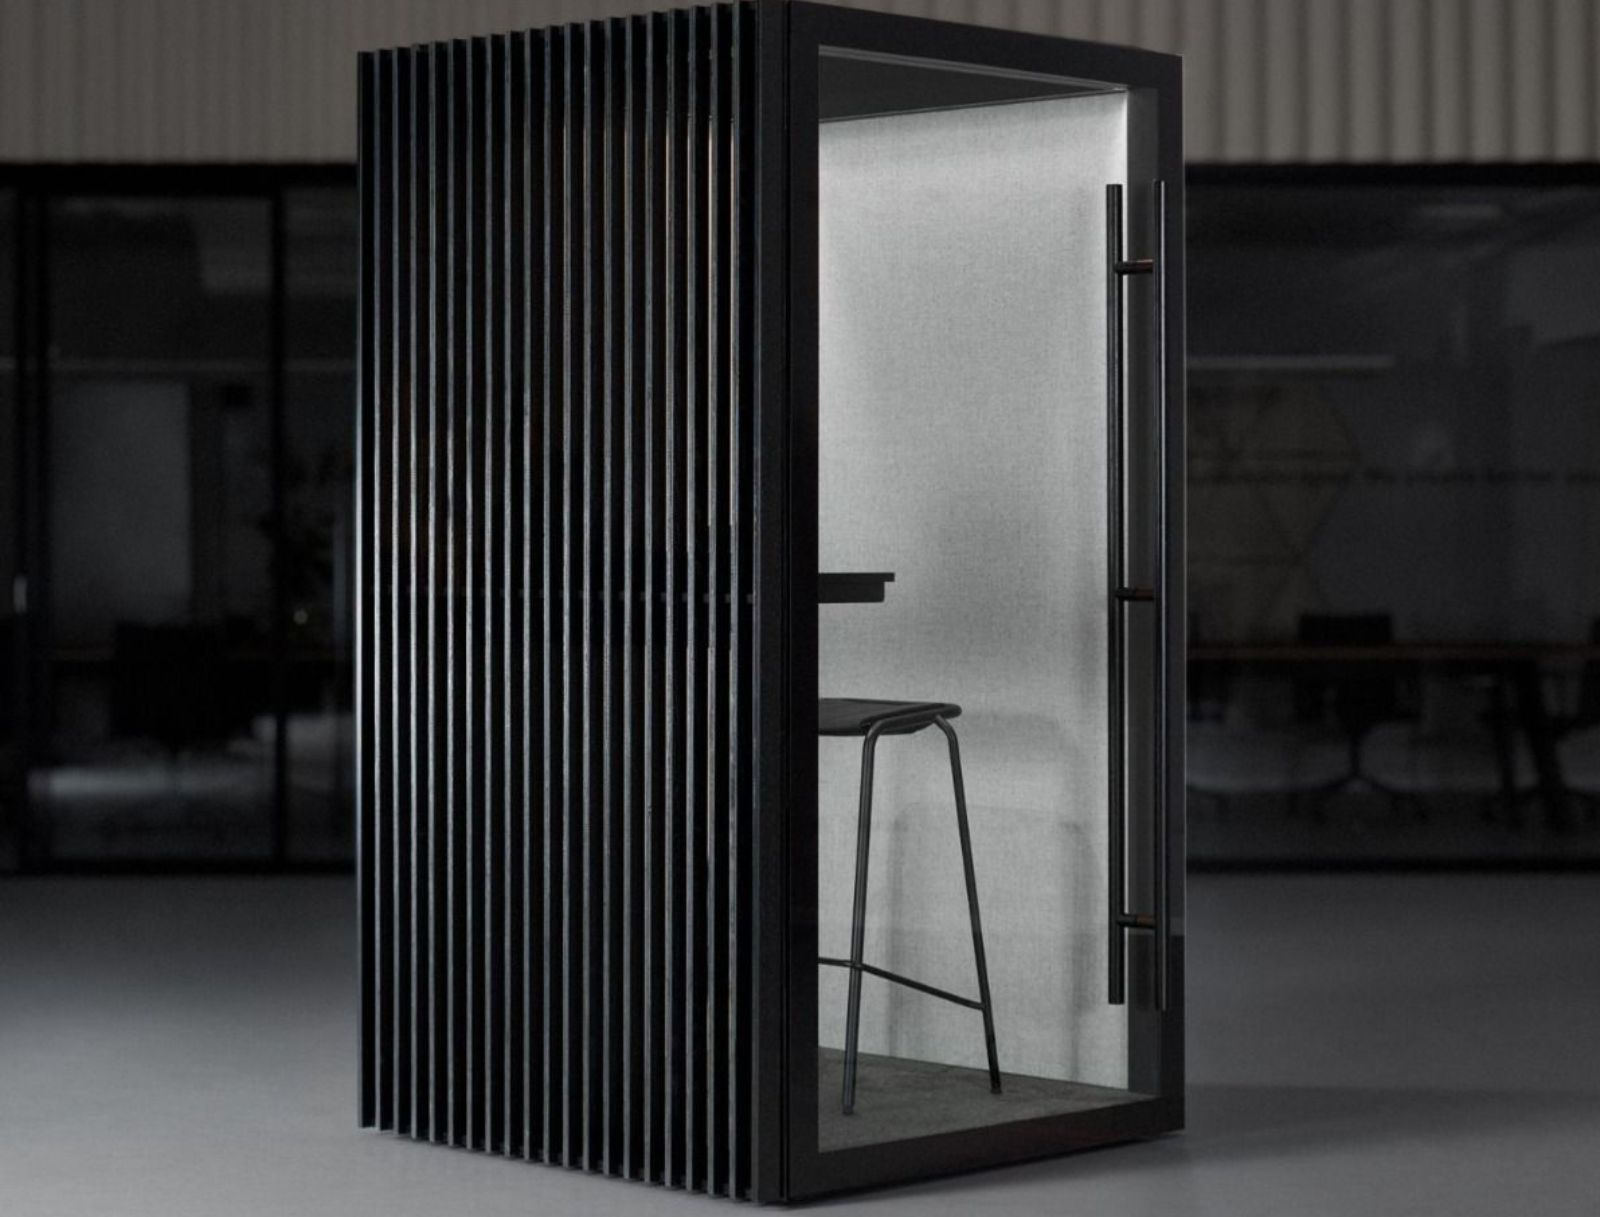 Acoustic Booths and Pods
 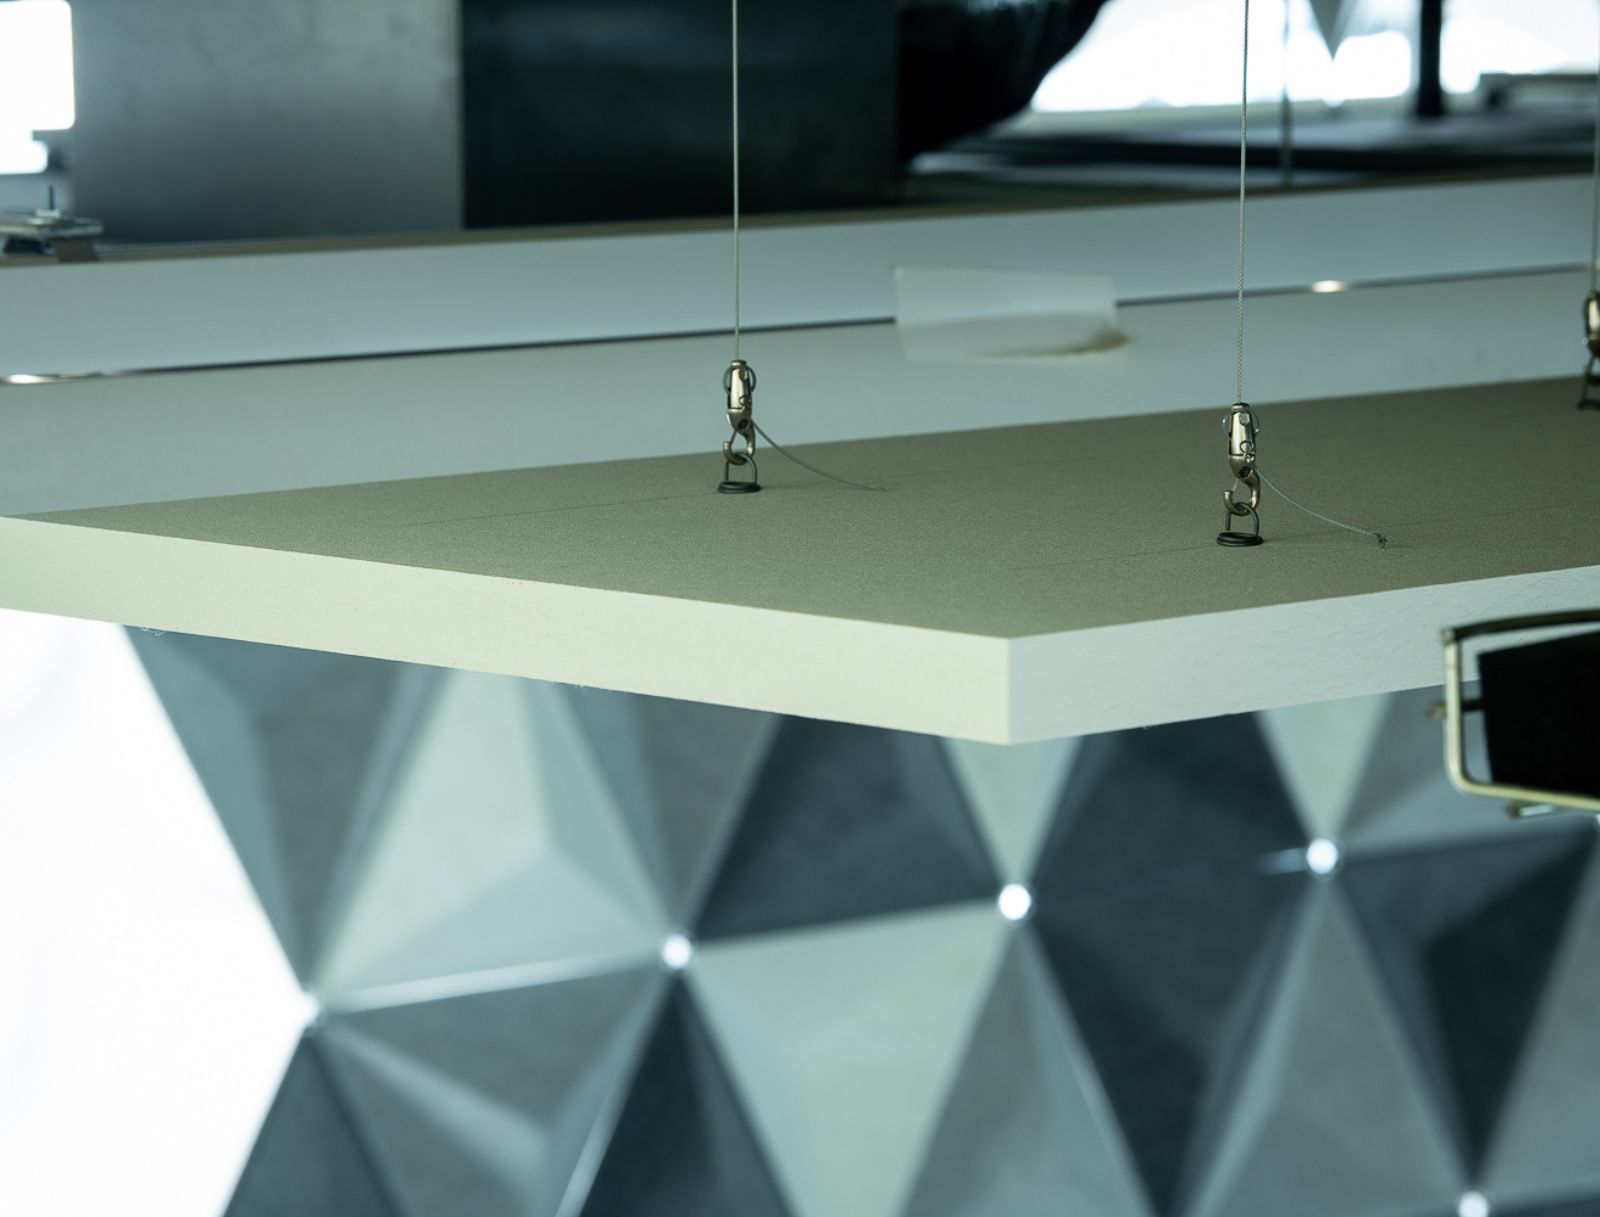 Acoustic Panel Accessories
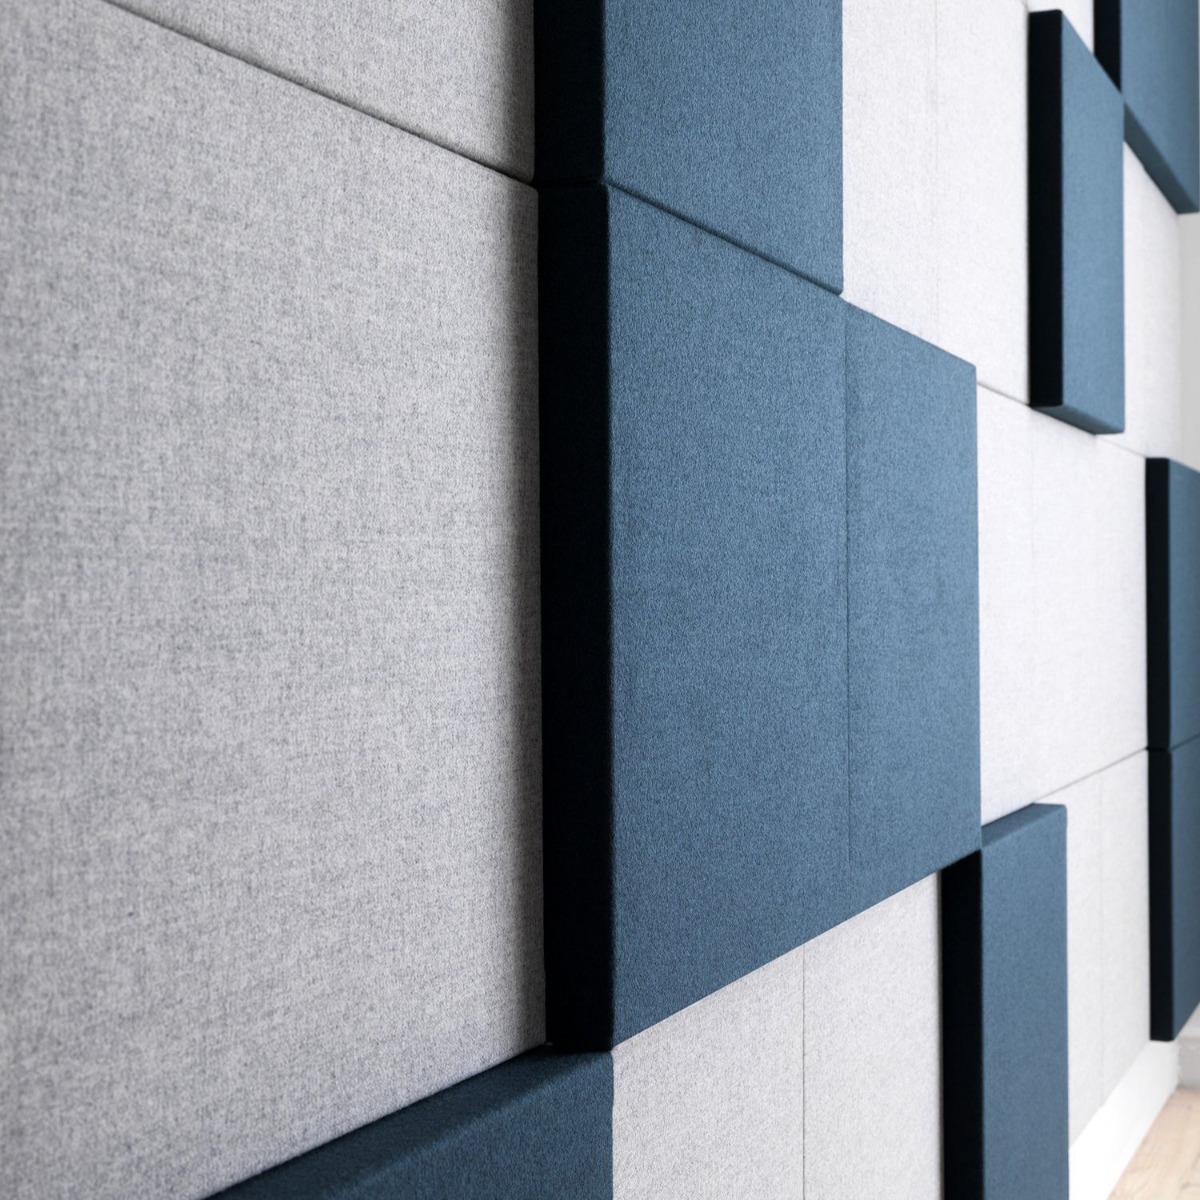


Only sustainable products
Configurable products
Installation available
Free acoustic advice
DIY Guide: Installing Ceiling Acoustic Panels for Home Theaters
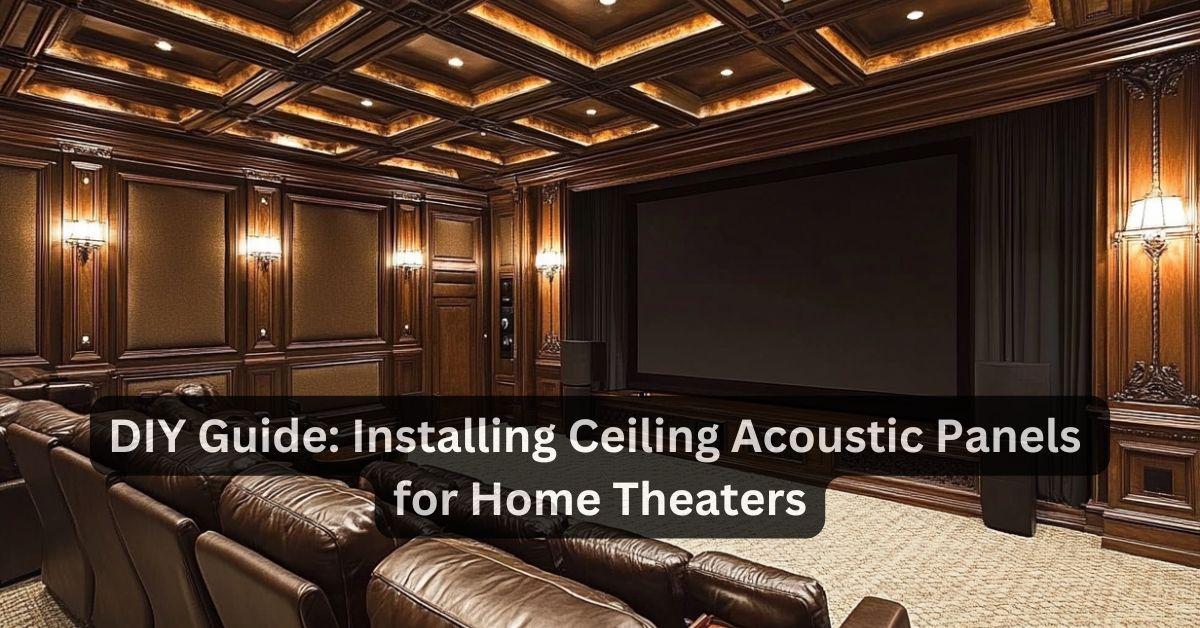
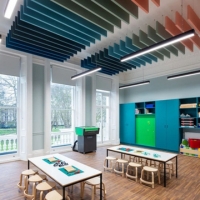
Why Ceiling Acoustics Matter
Good acoustic treatment is key for a great home theater experience. Ceiling panels help reduce echo and make sound clearer. By putting these panels up yourself, you can save money and get great results. Let's look at how to choose and install the right ceiling acoustic panels for your home theater.
Key Takeaways
- Ceiling acoustic panels make sound better in home theaters
- Installing them yourself can save money
- Choose panels based on room size, looks, and sound needs
- Putting panels in the right spots is important
- You can hang panels with wires or attach them directly
- Taking care of your panels helps them last longer
Choosing the Right Panels
When picking ceiling acoustic panels, think about your room size, how you want it to look, and what you need for sound. Here are two good options for home theaters:
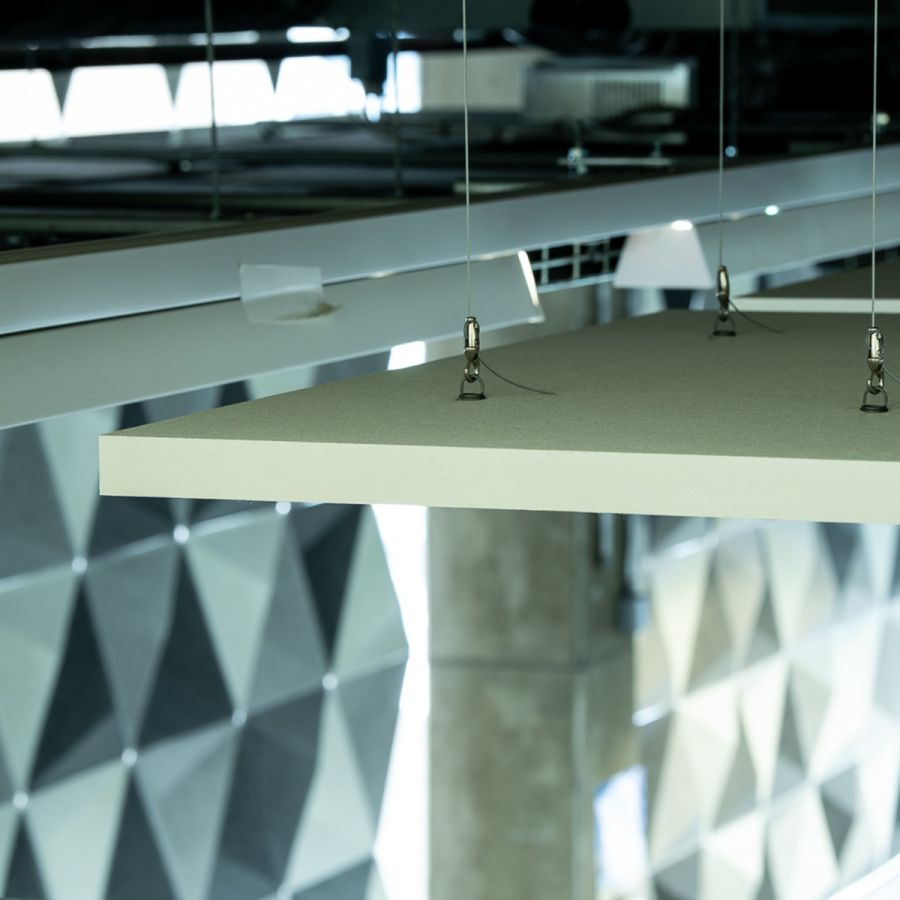
1. Ecophon Solo Rectangle Suspended Acoustic Ceiling Raft (From £225.00): These panels are great at absorbing sound and come in different sizes and colors. They're rated Class A for sound absorption, which means they're really good at reducing echo and making speech clearer.
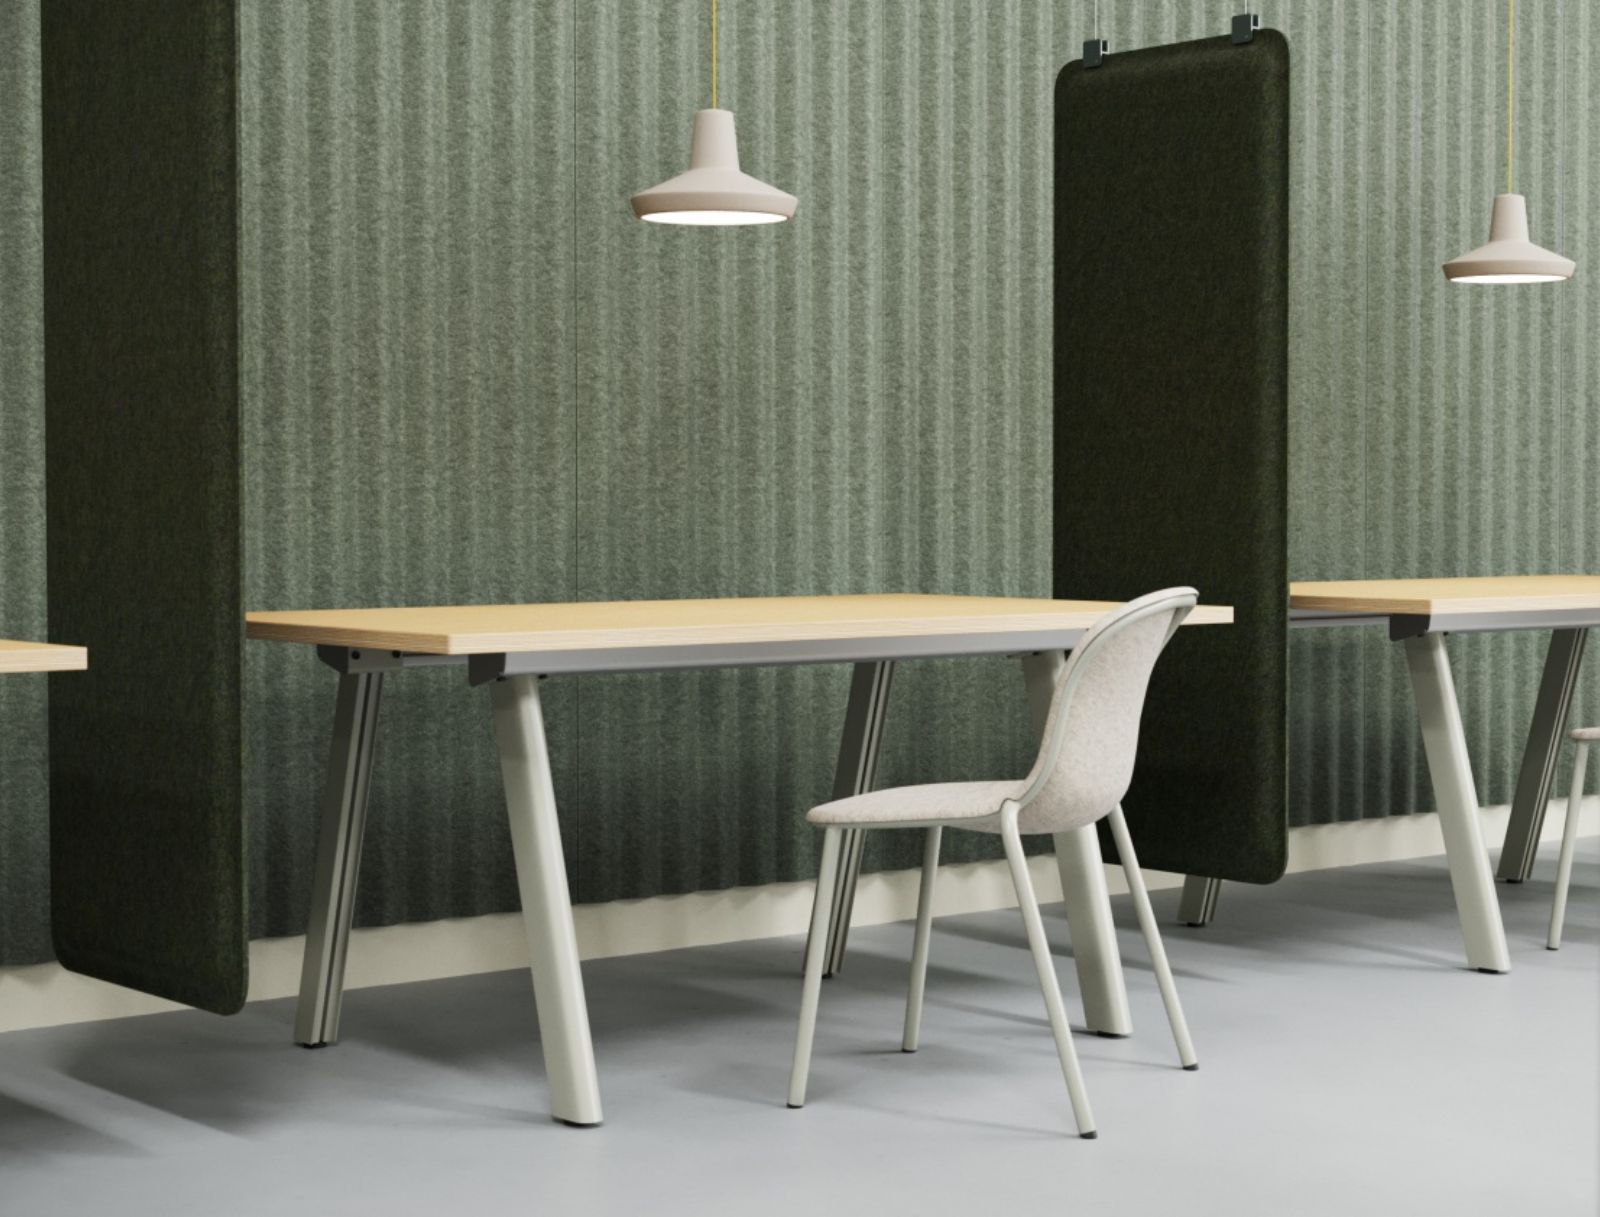
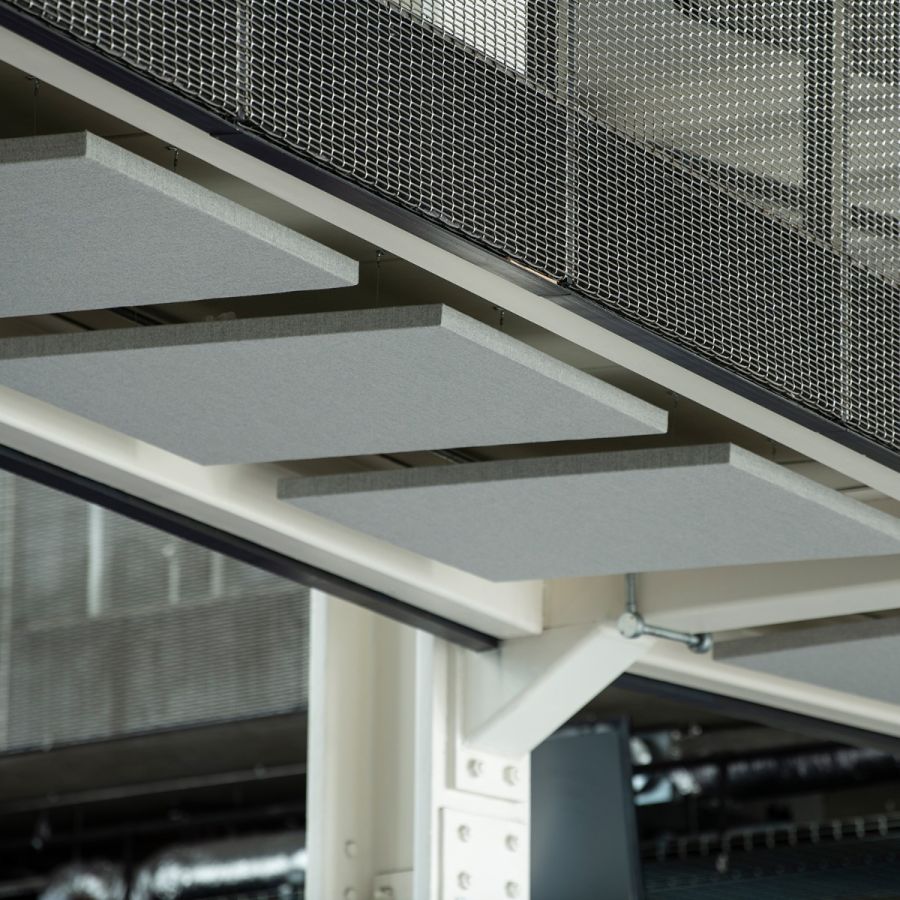
2. SilentSpace Fabric Wrapped Acoustic Ceiling Raft (From £124.00): These panels also have Class A sound absorption and can be made in custom sizes. They're covered in Camira fabrics, so they look good and work well. They're great for home theaters where you want the room to look nice and sound good.
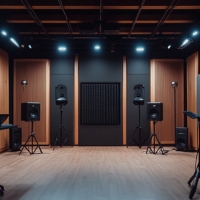
Calculating Panel Quantity and Placement
To figure out how many panels you need, measure your ceiling and try to cover about 25-30% of it. Where you put the panels is important. Put them above where you sit and where sound first bounces off the ceiling. To find these spots, have someone hold a mirror on the ceiling and move it around while you sit where you usually watch movies. The spots where you can see the speakers in the mirror are where sound first bounces.
Key Factors for Panel Placement
- Room Size: Measure length, width, and height to know how many panels you need
- Speaker Locations: Put panels 1-2 meters from speakers where sound first bounces
- Seating: Install panels above where you sit to absorb sound best
- Ceiling Height: Higher ceilings might need bigger or more panels
- Sound Absorption: Choose Class A rated panels for best results
- Panel Size: Get custom sizes to fit your room
- How to Install: You can hang panels with wires or attach them directly
Tools and Materials
Before you start, get these tools and materials:
- Measuring tape
- Level
- Drill with the right bits
- Screwdriver
- Wire cutters
- Pencil for marking
- Wire hangers or mounting brackets (depending on your panels)
- Anchors that work for your ceiling
- Safety glasses and dust mask
- Stud finder (to find ceiling beams)
- Ladder or scaffolding to reach the ceiling safely
Installation Methods
There are three main ways to install ceiling acoustic panels: wire hangers and direct mount. Let's look at both:
Wire Hanger Method
- Mark where you'll put the anchors for the wire hangers on the ceiling.
- Drill small holes and put in the ceiling anchors.
- Attach the wire hangers to the anchors.
- Adjust the wire length to get the panel at the right height.
- Attach the panel to the wire hangers using the hardware that came with it.
Direct Mount Method
- Mark where you want the panels on the ceiling.
- Put mounting brackets or clips directly on the ceiling.
- Carefully line up the panel with the brackets or clips.
- Secure the panel in place following the instructions that came with it.
Adhesive Method
- Mark where you want the panels on the ceiling.
- Follow the instructions for adhesive installation of your panels (only suitable for certain products such as Autex Quietspace)
- Secure the panel in place following the instructions that came with it.
For more tips on installing, check out our guide on how to install acoustic wall panels. While it's about wall panels, a lot of the ideas work for ceiling panels too.

Installing Specific Panel Types
Ecophon Solo Rectangle Panels
These panels come with adjustable wire hangers, making them easy to install:
- Follow the wire hanger method we talked about earlier.
- Use the spiral anchors that come with the panels to attach them securely to the ceiling.
- Adjust the wire length so all panels are level and at the height you want.
- For bigger rooms, think about using multiple panels in a grid pattern to cover more area.
- Make sure the panels are spaced evenly so they look good and work well.
SilentSpace Fabric Wrapped Panels
These panels can be installed in different ways:
- Choose between wire hangers or direct mount based on your ceiling and how you want it to look.
- Be careful with fabric-wrapped panels so you don't damage the material.
- If using wire hangers, make sure they're evenly tight so the panel doesn't tilt.
- For direct mount, use the mounting hardware that comes with the panels to attach them securely.
- If you're using multiple panels, think about the pattern and direction of the fabric so they all look good together.
Integrating with Room Features
When installing panels, you'll need to work around things already on your ceiling:
- For areas near lights or air vents, think about using Ecophon Solo Baffle panels (£65.00). These vertical panels let you reach ceiling fixtures easily and can be placed to not block lights or vents.
- Plan where to put panels so they don't get in the way of things like projector mounts or ceiling fans. You might need to cut panels to fit around these or use smaller panels.
- Use different sizes and shapes of panels to fit your room's unique features. You can mix rectangular panels with square or round ones to make the room sound good and look interesting.
- Think about how the panels will affect the lighting in your room. Light-colored panels can help spread light around, while darker panels might absorb more light.
Final Touches and Maintenance
After you install the panels, do these things to make sure they work well:
- Clean panels gently with a soft brush on a vacuum cleaner. Don't use water or cleaning products unless the panel maker says it's okay.
- Test the room's sound by playing different types of audio and listening for clearer sound and less echo. Pay attention to how clear voices sound in movies and how well you can hear different instruments in music.
- Think about whether you want it to be any quieter, if so you could add additional acoustic wall panels.
- Check panels regularly to make sure they're not sagging or damaged, especially if you used wire hangers. Fix any problems to keep them working well and safe.
- If you have fabric-wrapped panels, be ready to clean small spots sometimes. Use a mild soap and dab gently to avoid getting the fabric too wet.
For tips on taking care of your panels long-term, visit our guide on the importance of acoustic panels in office design. Even though it's about offices, many of the tips work for home theaters too.
Conclusion
Installing ceiling acoustic panels is a fun project that can make your home theater sound much better. By choosing the right panels, putting them in the right places, and installing them correctly, you can create a great sound environment in your home. Remember, getting the details right is important - take your time, measure carefully, and ask for help if you need it. With your new acoustic panels in place, you'll be ready to enjoy movies and music with great sound in your home theater.
To learn more about acoustic solutions and see what products we offer, visit our acoustic ceiling panels page. If you want to make your home theater sound even better, think about adding wall panels.
[related_products is_auto_added="1"]


